This is a brief instruction of creating photo gallery with the NextGEN Gallery used in wycaa.com
- Logon the wycaa.com at http://wycaa.com/wp-admin
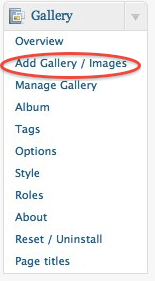
- Expand the Gallery box:

- Click “Add Gallery / Images”:
- Enter the gallery name:
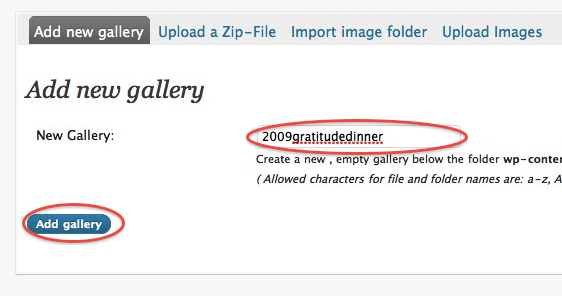 For the name of the gallery, start the name with the year of the photos taken, and end with a short name of the event (allow in lower case.) Click the “Add gallery” button when it’s done.
 - Click the “Upload a Zip-File” tab:
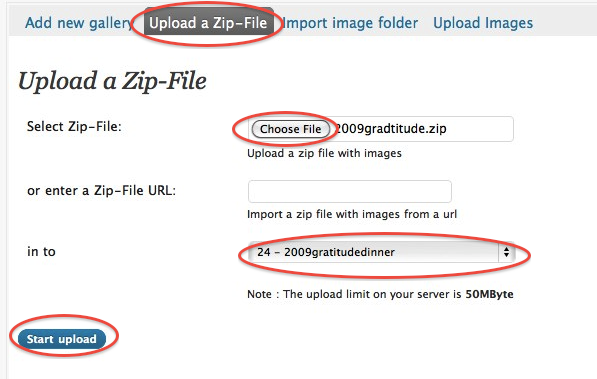 Click the “Choose File” button the pick the zip file contains your image files. Make sure your zip file is smaller than 50MB. If you have more images than that, zip them into multiple zip files, each smaller than 50MB.
Then, pick the gallery you have just created in “in to” field.
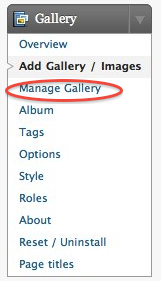
Finally, click the “Start upload” button the upload the file. It would take a while to upload the file and the server to unpack the file. If you have multiple zip files, repeat this step. - Click the “Manage Gallery” in the Gallery box:
- In the gallery list, click the gallery you have just created:
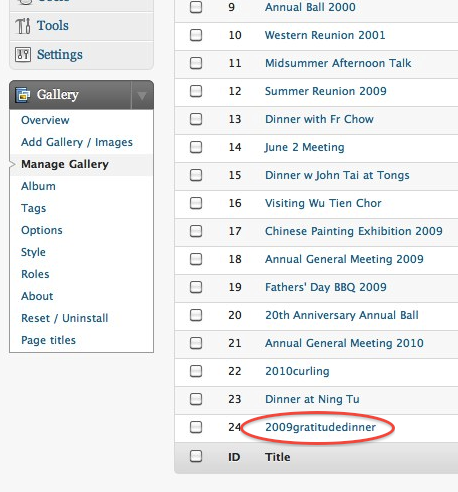
- Modify the title and description (optional):
 Enter the date of the event (YYYY-MM-DD) if possible.
Click the “Save Changes” button. - Click “Album” in the Gallery box:
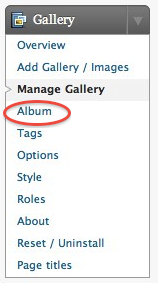
- Pick the year from the “Select Album” picker at the top:
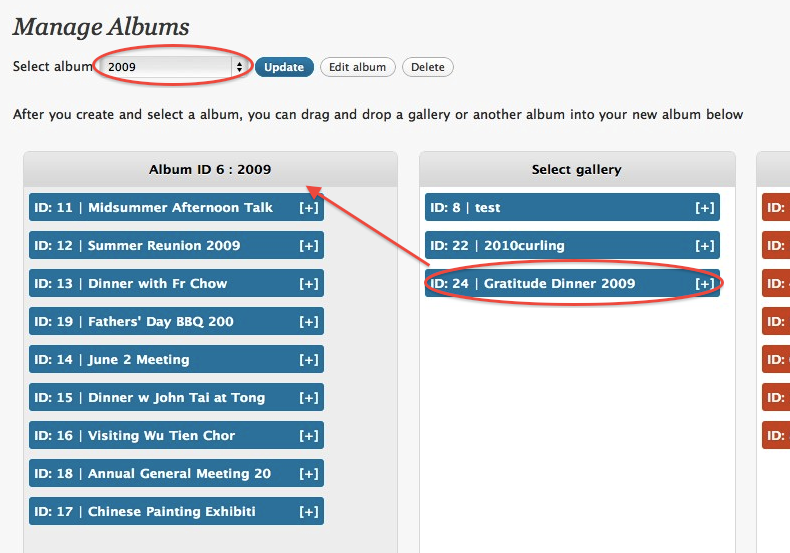 Then, drag the gallery you have just created the to left column. You can drag to different position in the left column. That would be the order of the gallery in that album.
 - Click the “Update” button:
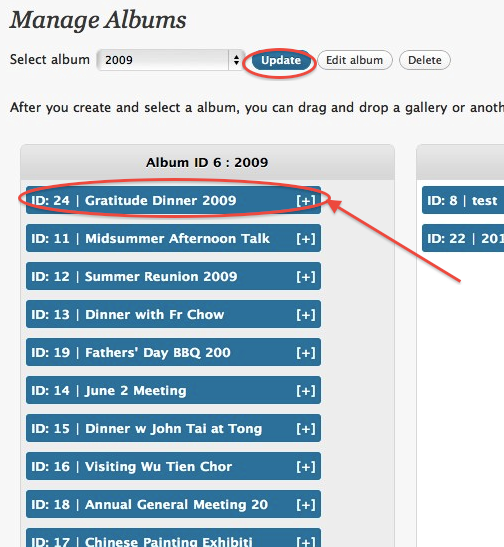
Now you should be able to find the new galley in wycaa.com’s photo gallery.
